Step 5 - Styling the model for applications
As soon as you see your visualization showing up in Analyzer or in PDI, you’ll notice that it is displayed with a “generic visualization” icon:
-
In Analyzer, the canvas will display a placeholder image, of a sunburst visualization (yes, that’s the current “generic” image…):
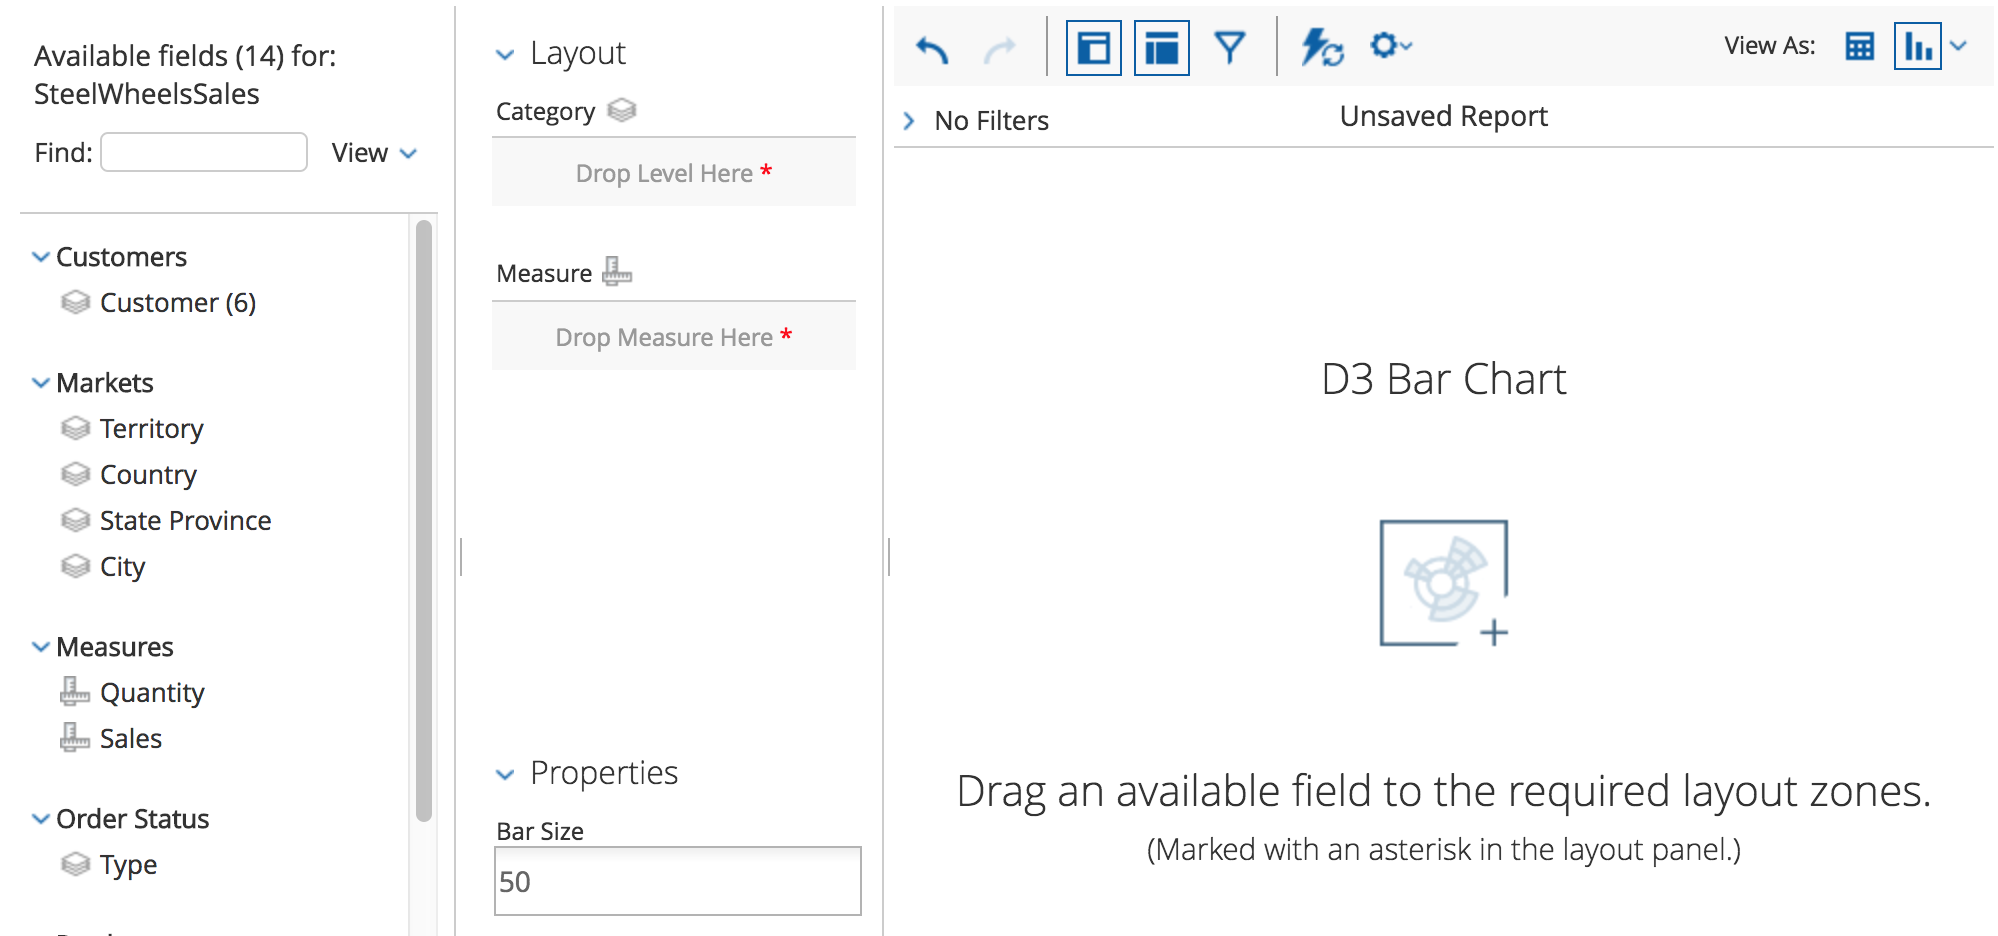
-
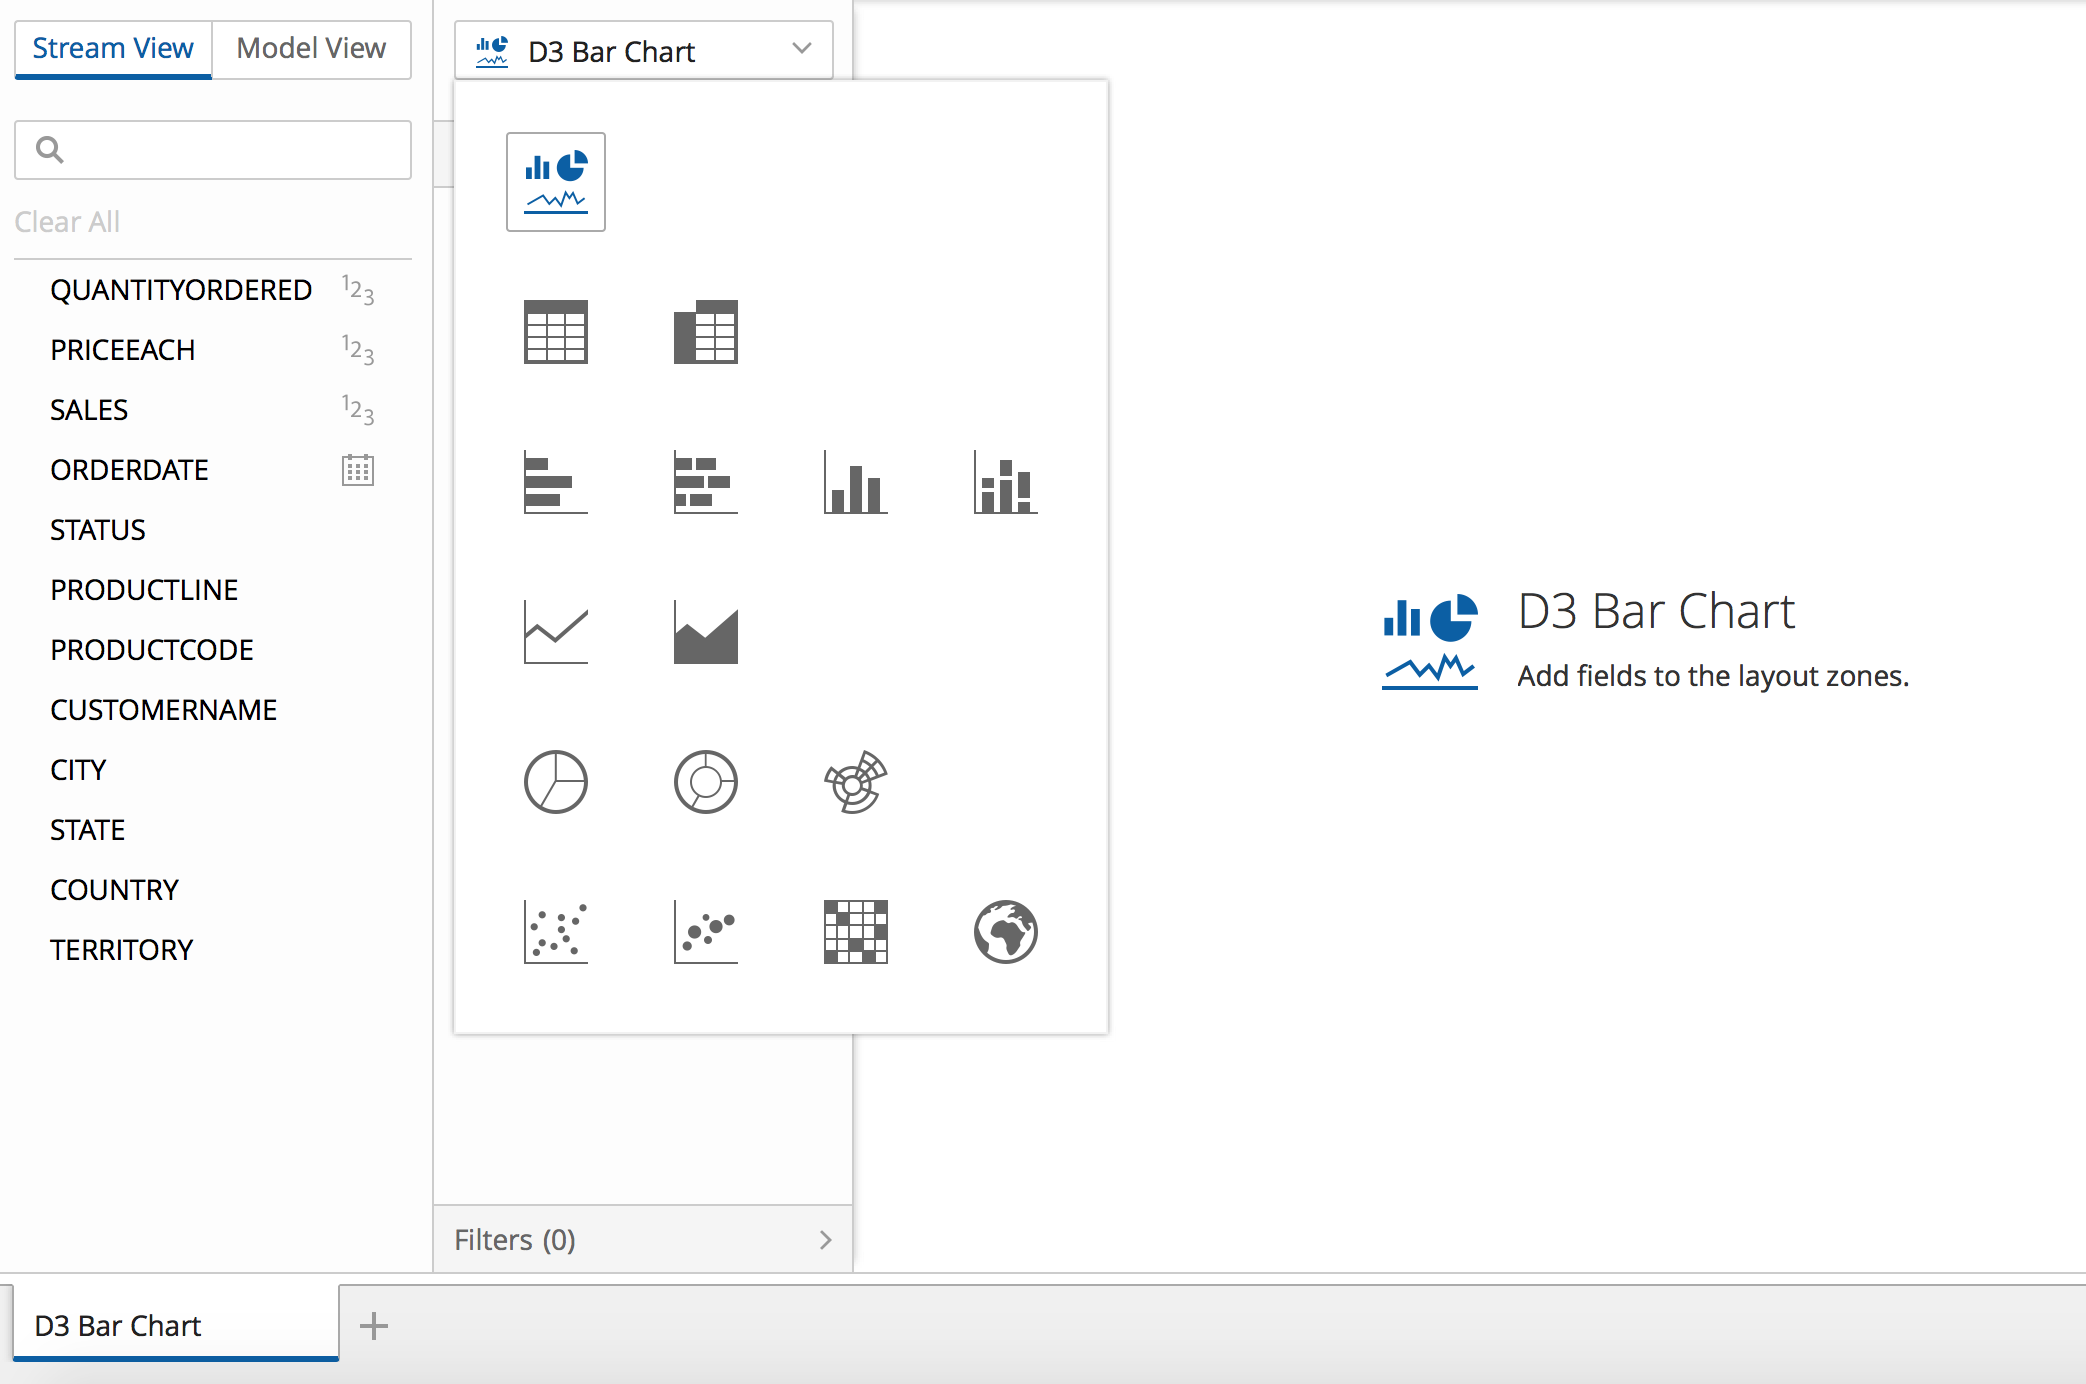
In PDI, each tab has a visualization menu which displays a button icon, a larger two-states icon in the menu’s drop-down, and a placeholder image displayed in the canvas, and all of these display a generic visualization image:
Visualization container applications document how visualizations can provide styled content to better integrate with them.
You will learn how to provide custom images for the Analyzer and PDI scenarios. A single CSS stylesheet will be created and registered as a theme for the visualization model file. It is the responsibility of the container application to load any registered visualization model themes.
Creating the CSS file
In the css folder, create a file named Model.css. Add the following content to it:
/* -- Analyzer -- */

/* Canvas placeholder image */
._pentaho-visual-samples-bar-d3-pentaho-visual-samples-bar-D3-Model.component-icon-landscape {
  background-image: url("./images/analyzer-bar-d3-placeholder.png");
}

/* -- PDI -- */

/* Viz Type Selector - Selected Viz Button */
._pentaho-visual-samples-bar-d3-pentaho-visual-samples-bar-D3-Model.visualization-switcher-button-icon {
  background-image: url("./images/pdi-bar-d3-button.svg");
}

/* Viz Type Selector - Drop-down icons */
.visualization-selector ._pentaho-visual-samples-bar-d3-pentaho-visual-samples-bar-D3-Model.component-icon-sprite {
  background-image: url("./images/pdi-bar-d3-sprite.svg");
}

/* Canvas placeholder image */
._pentaho-visual-samples-bar-d3-pentaho-visual-samples-bar-D3-Model .canvas.message .icon {
  background-image: url("images/pdi-bar-d3-placeholder.svg");
}
Remarks:
- The CSS rules are scoped with the visualization model’s automatically generated CSS class, similarly to what was the case when styling the view.
Copy the images provided in
pentaho/pentaho-engineering-samples
into an images folder, inside of the css folder.
Register the CSS file as a theme of the Model
In the package.json file,
in the pentaho/visual/samples/barD3/Model module declaration,
add the
ThemeAnnotation
annotation, referencing the just created Model.css file:
{
  "name": "@pentaho/visual-samples-bar-d3",

  "...": "...",

  "config": {
    "pentaho/modules": {
      "pentaho/visual/samples/barD3/Model": {

        "...": "...",

        "annotations": {

          "...": "...",

          "pentaho/theme/Theme": {
            "main": "css!./css/Model"
          }
        }
      },

      "...": "...",
    }
  },

  "...": "..."
}
That’s it. You’ll only be able to test this later, when deploying the visualization to the Pentaho Server and to PDI.
Continue to Adding interactivity to the view.